To tap into the rapidly growing world of online shopping, it’s essential for any business to build an ecommerce website. With the right steps and tools, you can create an online store that not only showcases your products but also provides a seamless shopping experience for your customers.
In this guide, we’ll walk you through the complete process to build an ecommerce website—from choosing a platform and designing your site to adding products and setting up secure payments. Whether you’re just starting out or looking to grow your existing business, these steps will help you launch a successful ecommerce site.
Table of Contents
Step 1: Choose the Right Ecommerce Platform
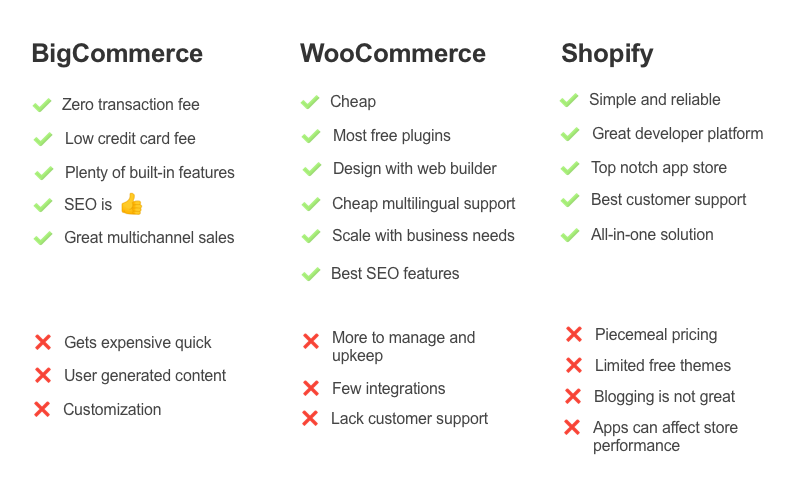
The platform you choose can make or break your online store. Popular options include:
- Shopify: A beginner-friendly platform that offers robust features for small to mid-sized stores. It’s a great all-in-one solution with built-in hosting and secure payment processing.
- WooCommerce: A flexible, open-source platform that integrates with WordPress. This is ideal if you want more control over customizations and already have experience with WordPress.
- BigCommerce: Known for its scalability, BigCommerce is suitable for larger stores or those anticipating high growth. It’s packed with features and integrates with multiple sales channels.
Factors to Consider:
- Ease of Use: Choose a platform you can easily navigate, especially if you’re a beginner.
- Cost: Platforms vary in pricing—some charge a monthly fee, while others are free with additional costs for add-ons.
- Features: Consider essential features like inventory management, payment options, and SEO capabilities.
Step 2: Set Up Your Online Store
Once you’ve selected a platform, the next step is setting up the basics of your online store.
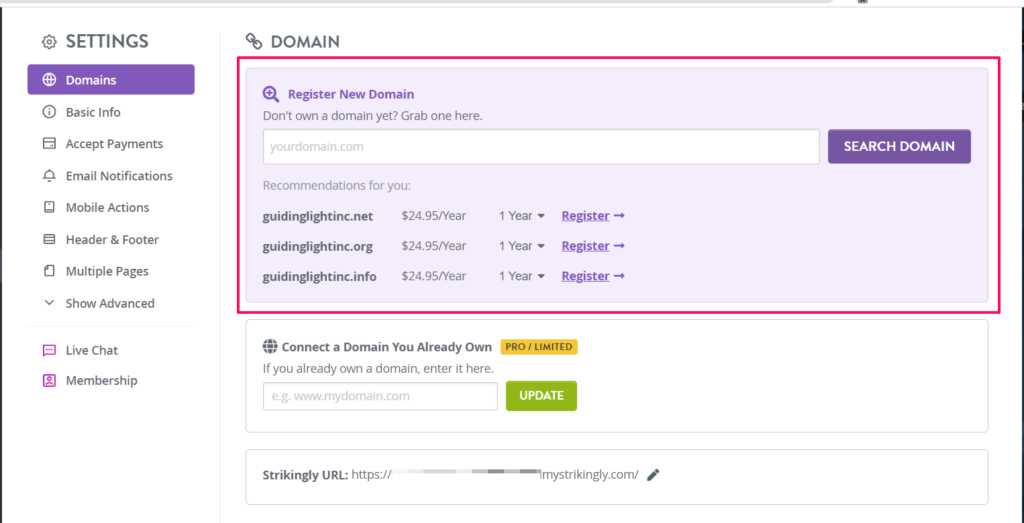
- Register a Domain: Your domain name is the address customers will type to find your store. Choose something short, memorable, and relevant to your brand.
- Configure Basic Settings: Most platforms guide you through setting your store name, contact details, and business address.
- Add Store Information: Set your currency, language, and payment options based on where your customers are located.
Step 3: Design and Customize Your Website
Design plays a huge role in how customers perceive your brand and influences whether they’ll stay on your site or leave.
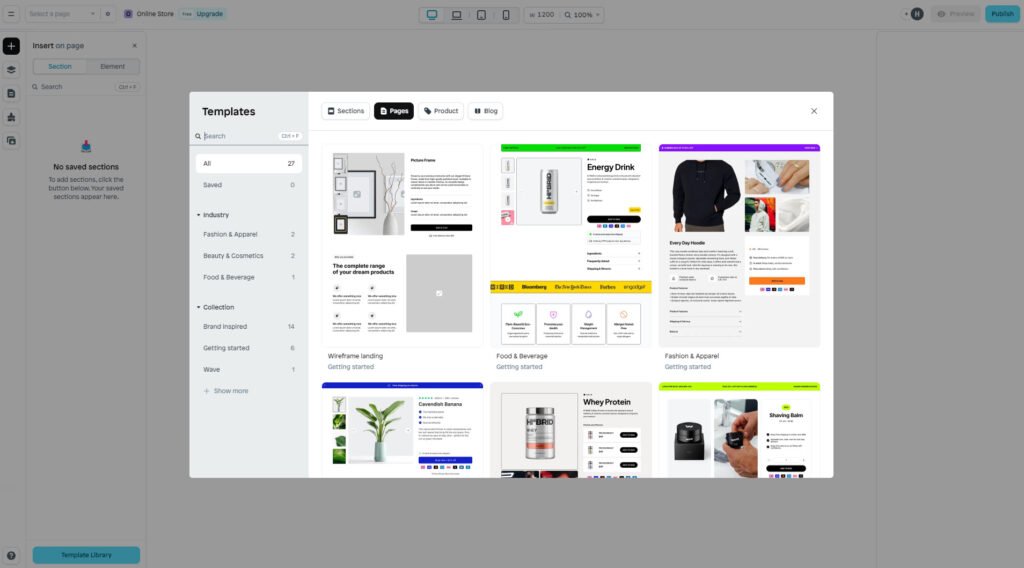
- Choose a Template or Theme: Most platforms offer pre-designed themes that you can use right away. Choose a theme that reflects your brand’s style and is easy to navigate.
- Customize Your Layout: Use the customization tools provided by your platform to adjust colors, fonts, and layouts to fit your brand identity. Make sure your website is mobile-friendly, as many shoppers browse and buy from their phones.
- Add Essential Pages: Include an About Us page, Contact Information, and Return Policy for a professional and trustworthy look.
Step 4: Add Products to Your Store
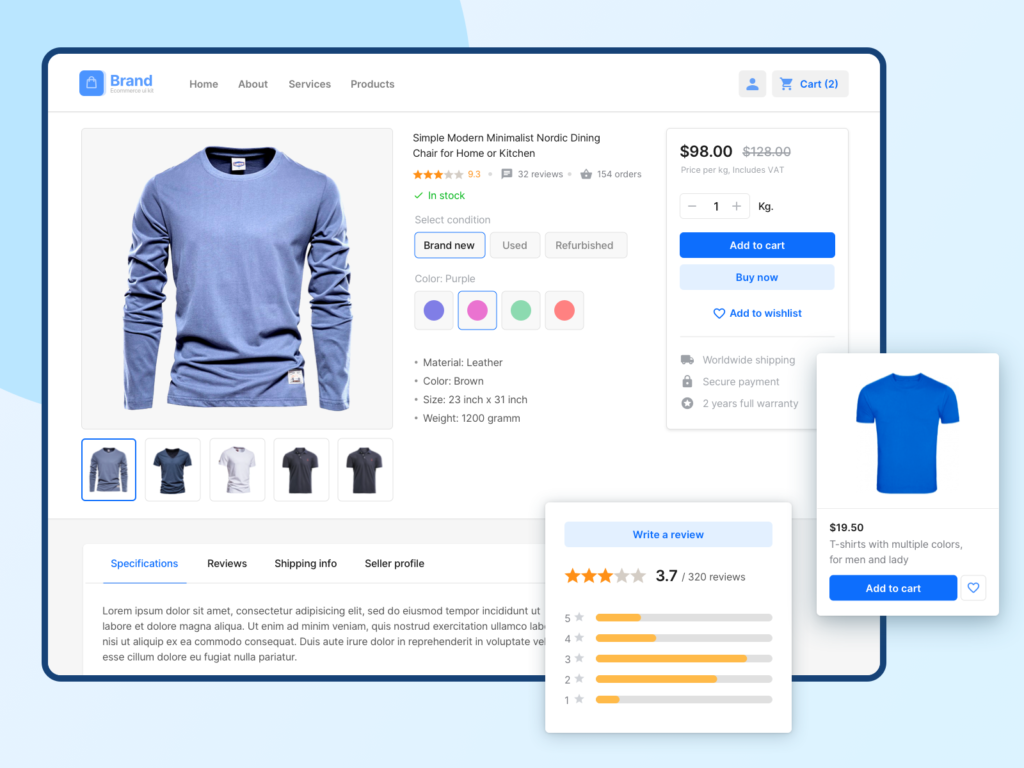
Your product listings are where your customers learn about what you offer, so make sure each listing is detailed and appealing.
- Create Clear Product Names: Choose names that accurately describe each product so customers understand what they’re buying.
- Write Compelling Descriptions: Each product should have a clear, descriptive title and detailed information, including materials, size, and usage.
- Add High-Quality Images: Use professional images that showcase different angles of your products. High-quality images help boost customer confidence and increase conversions.
Tip: Organize products into categories or collections to make browsing easier for customers.
Step 5: Set Up Payment Gateways
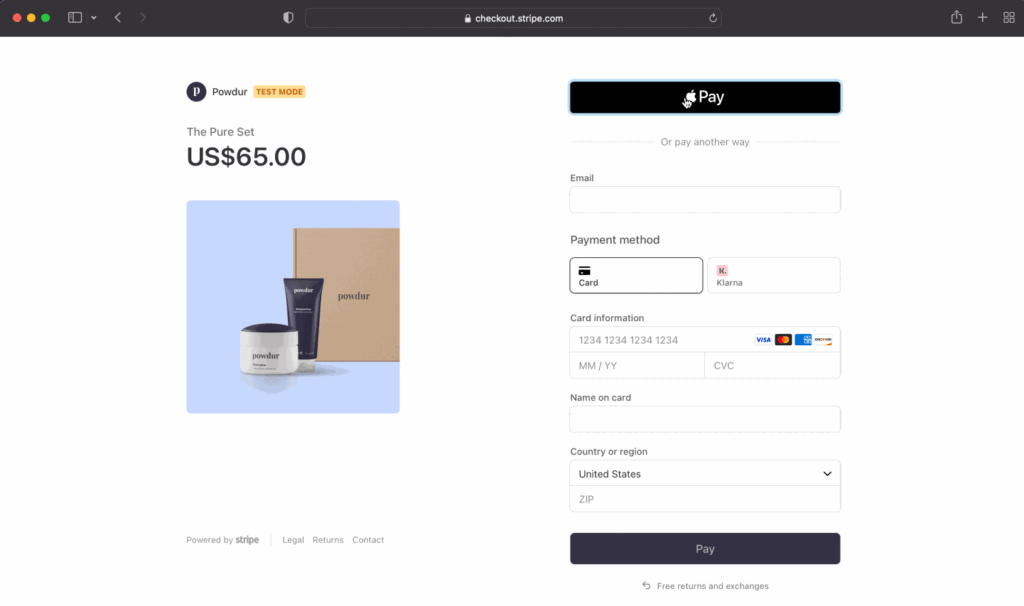
To sell online, you’ll need to enable secure payment processing. Most platforms support major payment gateways, such as:
- PayPal: A popular choice worldwide, known for secure payments.
- Stripe: Provides customizable options and supports various payment methods.
- Apple Pay & Google Pay: Convenient options for mobile users.
Choosing the Right Payment Gateway:
- Ensure your gateway supports the currencies you need.
- Consider the transaction fees, which can vary by gateway.
- Make sure it’s easy for your customers to use.
Step 6: Configure Shipping and Tax Settings
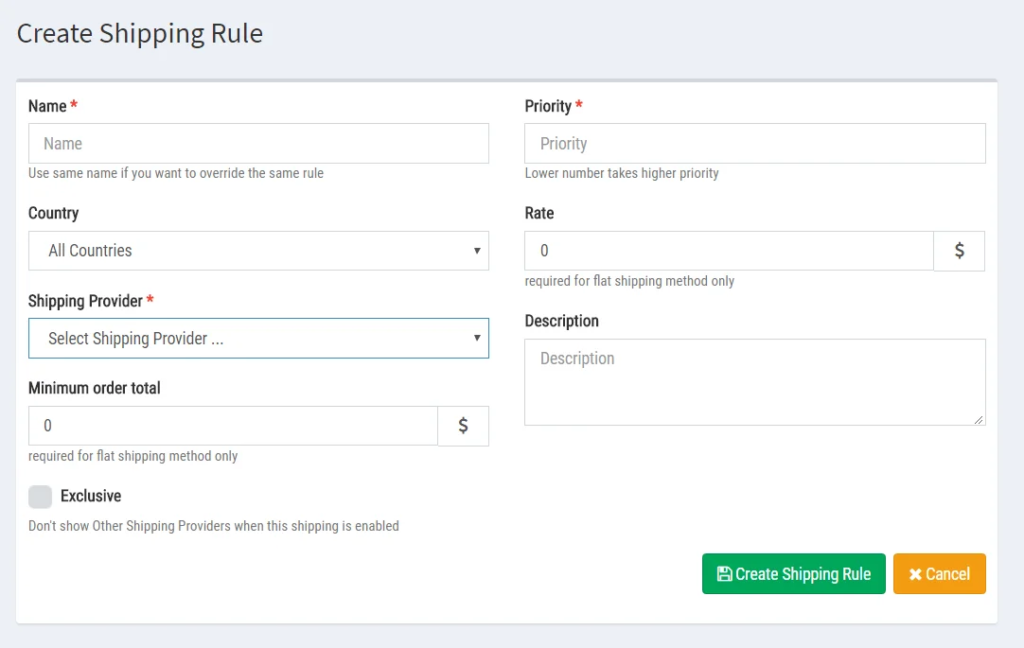
Setting up shipping options and tax configurations is critical to provide a seamless shopping experience.
- Shipping Rates: Decide whether to offer free shipping, flat-rate shipping, or variable rates based on location.
- Integrate Carriers: Many platforms allow you to integrate directly with shipping providers (e.g., USPS, FedEx), which enables automated rate calculations.
- Set Up Tax Rules: Ensure compliance with local tax regulations by setting up automated tax calculations.
Step 7: Optimize for SEO
To attract traffic and rank on Google, it’s essential to optimize your ecommerce website for search engines.
- Optimize Product Pages: Use keywords in product titles, descriptions, and meta tags to help search engines understand what each page is about.
- Write Unique Descriptions: Avoid using manufacturer descriptions; instead, create unique, keyword-rich descriptions.
- Create Blog Content: Adding a blog with valuable, relevant content helps improve SEO and builds trust with your audience.

Step 8: Add Essential Tools and Plugins
To enhance functionality and improve user experience, consider integrating the following tools:
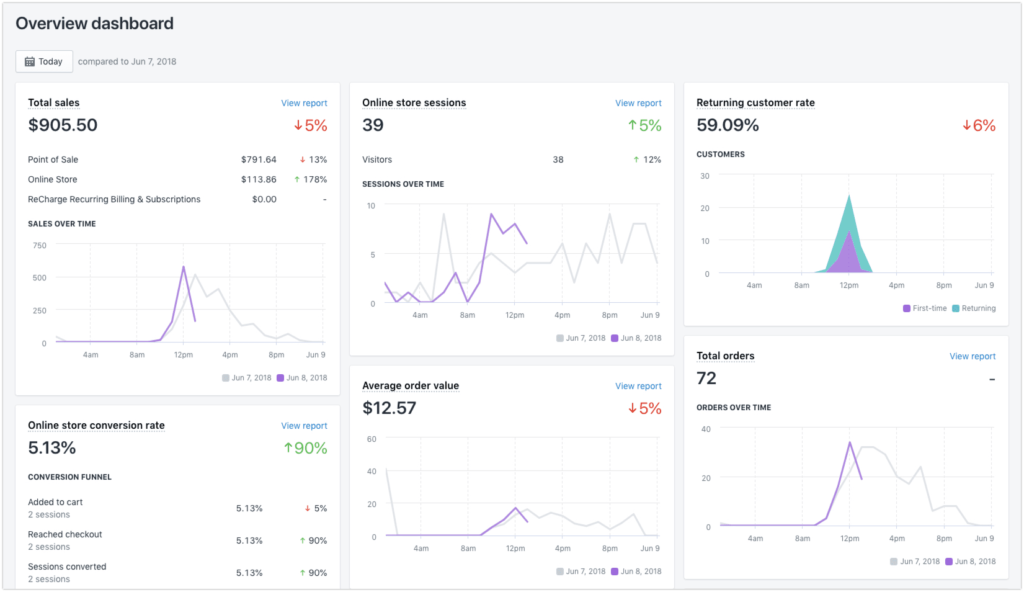
- Analytics: Google Analytics or your platform’s built-in analytics tool to monitor traffic and sales.
- Marketing Plugins: Plugins for email marketing, social media, and customer reviews to help increase engagement and build trust.
- SEO Tools: Plugins like Yoast SEO (for WordPress) can guide you in optimizing each page for better rankings.
Step 9: Test and Launch Your Store
Before you officially launch, thoroughly test every part of your website to ensure it works as expected.
- Test the Checkout Process: Make sure the checkout is smooth and easy to follow. Test each payment method.
- Check Mobile Responsiveness: Make sure your website looks good and functions well on both mobile and desktop devices.
- Review Loading Speed: A slow website can deter visitors. Optimize images and consider a content delivery network (CDN) if necessary.
Conclusion
Building an ecommerce website can be a rewarding endeavor that opens doors to a vast online market and allows you to grow your brand on your own terms. By following the steps outlined in this guide, you’ll create a store that’s professional, user-friendly, and ready to start selling. Remember to invest time in choosing the right platform, designing an appealing layout, adding well-crafted product listings, and setting up secure payment and shipping options.
As you move forward, keep optimizing your site for SEO, adding relevant content, and tracking analytics to understand your customers’ behavior. These ongoing efforts will help drive more traffic, improve customer experience, and increase sales.
And if you’re looking for professional support to streamline the process, consider reaching out to an ecommerce development agency. With their expertise, you can launch a high-quality store faster and be ready to meet your customers’ needs from day one.
Affiliate Disclaimer: Some of the links in this article are affiliate links, which means I may earn a commission if you click on the link and make a purchase. Please note that I only recommend products or services that I genuinely believe in and have personally experienced. Your purchase helps support my work in providing valuable content to readers like you. Thank you for your support!


